 For my husband's birthday Lilo and I made him a shirt. I saw this idea to transfer your kids drawings on tees with freezer paper a while ago so I thought I'd finally try it out.
 I first asked Lilo to draw a picture for the shirt. I asked to only use 1 or 2 colours but she couldn't so she restricted herself to 6. If your child's drawing is only 1-2 colours it would be easier. Anyways I went with it.
 I traced out the picture onto Freezer paper. For those of you that don't know what this is it's butcher paper. It's not easy to find, I got mine at No Frills once over a year ago but haven't seen it since. It's with the plastic wrap, mine is Glad brand.
Anyways, the cool thing about this paper is that you can iron it on to fabric and it stays until put but can be pulled off so it works great as a stencil.
So back to the t-shirt, after tracing out the picture I cut it out with an x-acto knife, careful to keep the loose pieces.


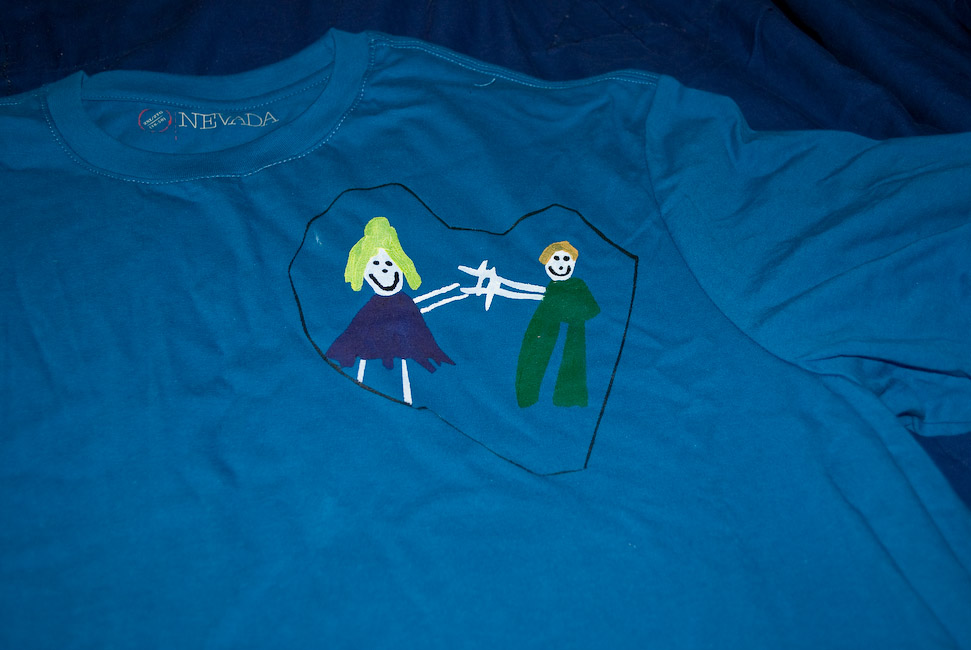
Then iron the paper, including the little pieces such as around the arms. Since Lilo drew a heart around her and dad I cut a thin line around the shape so I could include on the shirt. Then I painted the shirt using the drawing as a guide for where to put the colour.
When the paint was dry I removed the freezer paper. Lilo was upset that she forgot to add her arms in the picture so I added them on after and I also added the face. Then to set the paint just iron the image on the back side.
I glued Lilo's drawing to the gift bag, she was pretty proud of the shirt. And I think it makes a cute bumming around the house shirt.

Afterwards I made another shirt with Lilo's drawing of a bike. I love how this turned out. It was a little tricky to cut all the little pieces out but I think its cute. I started by cutting out the main shape and ironed the outline on. The small pieces I cut out part by part and ironed on as I cut so I would loose the pieces. At least painting was much easier.
Cool and very innovative one. Good job.
ReplyDeleteyour blog has always been great.....
ReplyDeletethank you so much for this blog......
ReplyDeletegreat colour combination.....
ReplyDeletesuch lovely pictures...great
ReplyDeleteNice Painting thanks for cute post..Great work....
ReplyDeleteawsome blog
ReplyDeleteamirable blog.....
ReplyDeletehow lovely is this blog.....
ReplyDeleteso lovely colours.....
ReplyDeletehow lovely is this blog.....
ReplyDeleteThis blog was too good! got to learn something!
ReplyDeletecool math 4 kids
nice job....
ReplyDeletelook awsome
cool one
ReplyDeleteawsome work....
ReplyDelete