 So I took his ideas and came up with this picture below which is what I actually wrapped for Christmas for him. This past weekend we got back to their place to start working on the actual mural.
 In 2 days I got a good chunk finished, the pirate ship is done which is phase 1. Next visit will be phase 2; the pirate, parrot, cannon, balls and port holes. But I must say I'm pretty excited about how it's coming. I love that the image in my head looks the same as the one on the wall.
 I first prepped the wall. Removed the red tape on the stripe and sanded the road (left from previous decor). I then primed the stripe.
 To help draw out the image on the wall I took my picture I drew into photoshop and added 1 foot grid lines. On the wall I marked off 1 foot intervals on the sides. Then drew out the base of the ship.
 I painted brown on the ship. Since I had drew out the outline of the ship I tried to keep the lines when I painted the brown so I wouldn't have to re-draw it. I also painted the base grey colour on the part of the stripe that I primed.
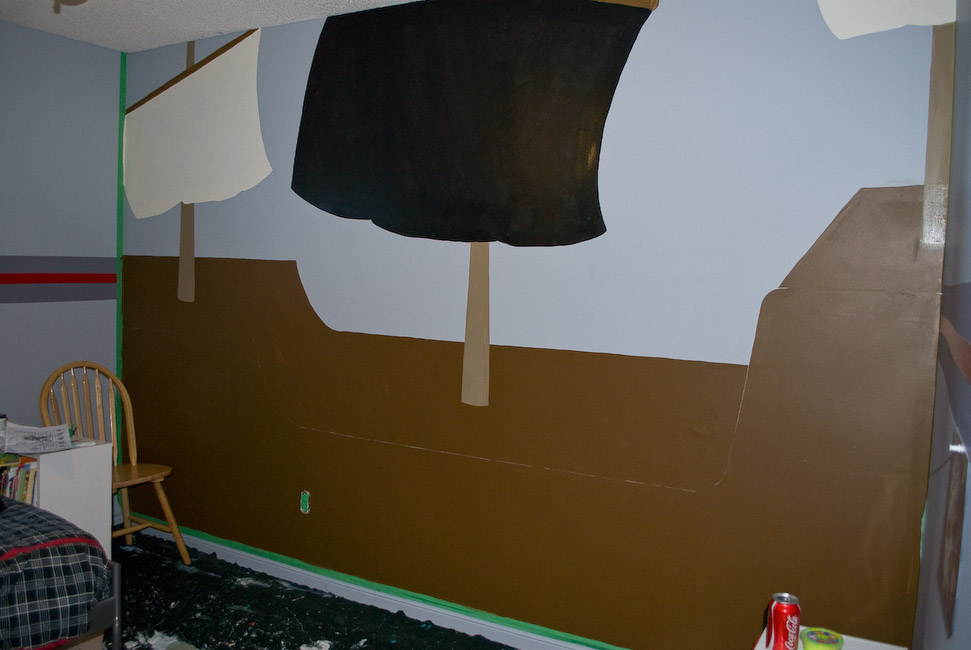 I drew in the on the flags and posts again referring back to my drawing with the grid lines. I decided to paint the main Jolly Roger sail in black instead of white, just to look more piratey and it matches back to his black comforter.
 Then next day I went to the details. Inspired by the 90s Debbie Travis, I found a wood grainer tool and made the ship look like real wood - so cool. It was easy to use. I mixed a darker brown colour and mixed it 1 part paint to 4 parts glaze. I rolled the glazed paint in small section and then pulled the wood graining tool across, rocking in as I pulled and it left this cool wood grain. The hardest part was staying straight - but since the glaze stays wet you can try again.
 I used a projector to trace out the Jolly Roger, then painted a few coats of white. Then I added detail to the posts and the sails. I added highlights and shadows to the ship and I used a sharpie to outline - which easier to use a marker then a paint brush.
 Here's a little cousin love, aren't they cute.
 Ian's liking the mural - it's bigger than he thought, but I think if you're going to paint a mural then why paint it small. I'm not a fan of dinky mural, I say just go for it.
I will post phase 2 once in the future.


3 comments:
Oh wow!!! This is SO AMAZING! I love doing kids crafts for my walls too but doing something on such a large scale like this is so breathtaking! :D
Belly B
http://www.papertiaras.com
So cool!!!!
Warmest regards,
Joy
Http://www.PardonMyPoppet.com
Thanks guys. I never got around to doing phase two, but since phase one turns out so cool he doesn't mind.
I love large scale murals, so much more fun then little ones.
Post a Comment